个人博客
http://www.milovetingting.cn
Spring Framework
基础环境搭建
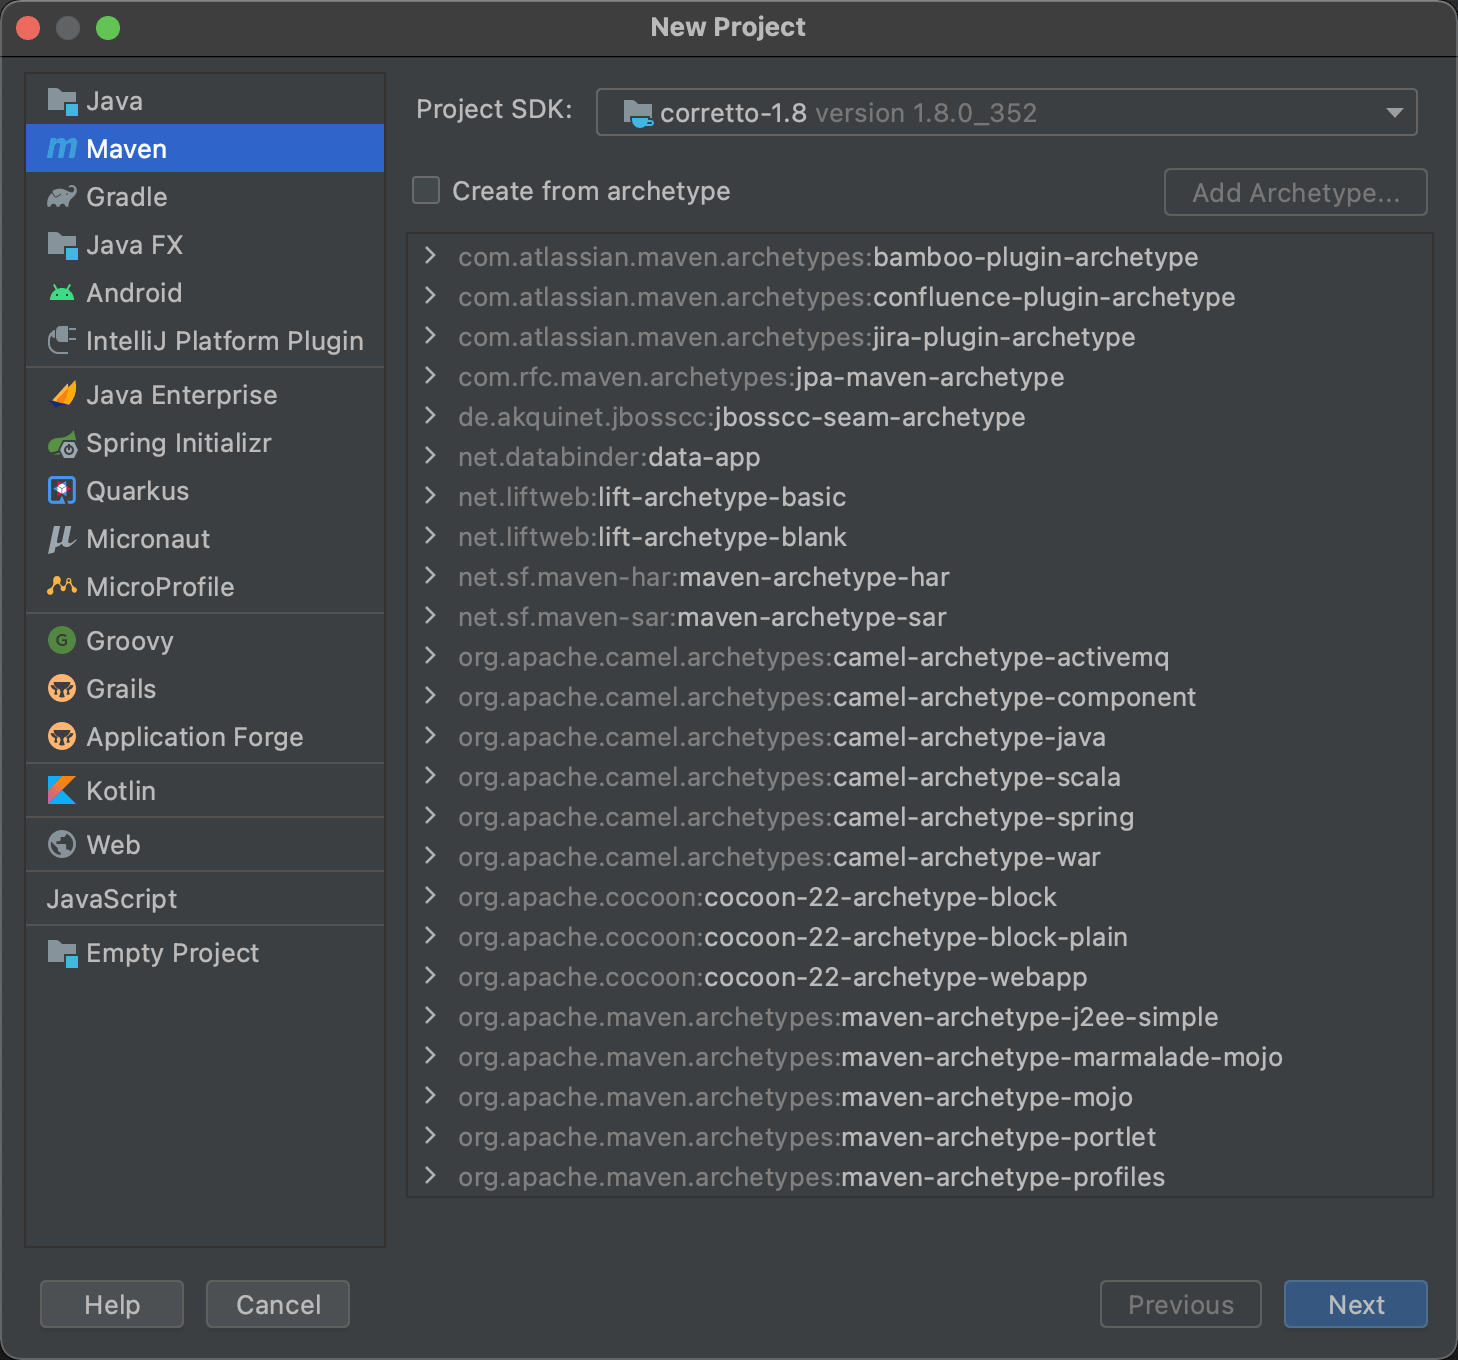
1、选择Maven项目,然后点击Next
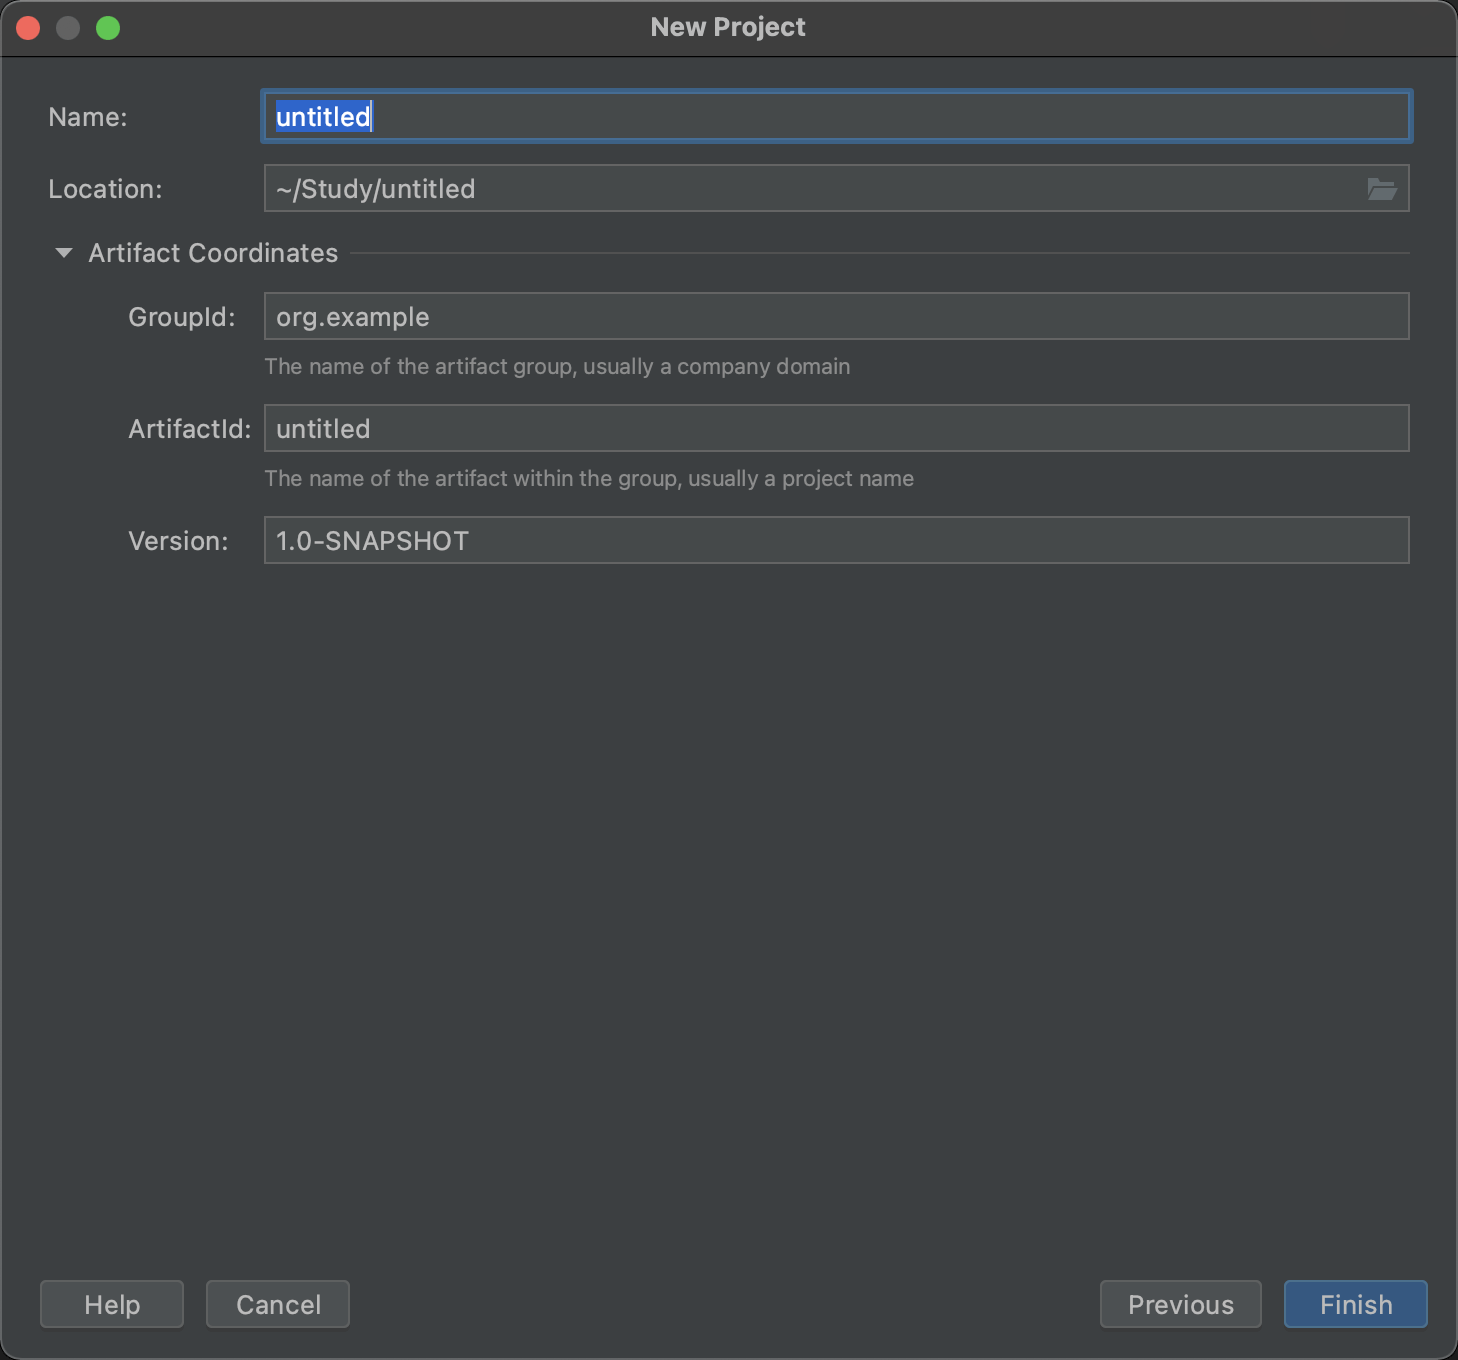
2、完善信息后点击Finish
3、删除项目根目录下的src文件夹
4、引入Spring相关依赖
1
2
3
4
5
6
7
8
9
10
11
12
13
14
15
16
17
18
19
20
| <dependencies>
<dependency>
<groupId>org.springframework</groupId>
<artifactId>spring-core</artifactId>
<version>5.3.25</version>
</dependency>
<dependency>
<groupId>org.springframework</groupId>
<artifactId>spring-beans</artifactId>
<version>5.3.25</version>
</dependency>
<dependency>
<groupId>org.springframework</groupId>
<artifactId>spring-context</artifactId>
<version>5.3.25</version>
</dependency>
</dependencies>
|
Spring不同版本对应的JDK版本要求不一样
1
2
| Spring Framework 6.0.x: JDK 17-21 (for native images: JDK 17-19)
Spring Framework 5.3.x: JDK 8-19
|
5、新建Module,选择Maven类型,点击Next,然后完善相关信息。

传统的方式
普通对象创建
1
2
3
4
5
6
7
8
9
10
11
12
13
14
15
16
17
18
19
20
21
22
23
24
25
| public class User {
private String name;
public void setName(String name) {
this.name = name;
}
@Override
public String toString() {
return "User{" +
"name='" + name + '\'' +
'}';
}
}
public class MyTest {
public static void main(String[] args) {
User user = new User();
user.setName("zs");
System.out.println(user.toString());
}
}
|
运行后的输出结果:
User{name=’zs’}
Dao调用
1
2
3
4
5
6
7
8
9
10
11
12
13
14
15
16
17
18
19
20
21
22
23
24
25
26
27
28
29
30
31
32
33
34
35
36
37
38
39
40
| public interface IDao {
void getUser();
}
public class MySqlDaoImpl implements IDao {
@Override
public void getUser() {
System.out.println("MySqlDaoImpl-->getUser");
}
}
public class OracleDaoImpl implements IDao {
@Override
public void getUser() {
System.out.println("OracleDaoImpl-->getUser");
}
}
public interface IService {
void getUser();
}
public class ServiceImpl implements IService {
IDao dao = new MySqlDaoImpl();
@Override
public void getUser() {
dao.getUser();
}
}
public class MyTest {
public static void main(String[] args) {
IService service = new ServiceImpl();
service.getUser();
System.out.println(user.toString());
}
}
|
运行后的输出结果
MySqlDaoImpl–>getUser
IOC调用方式
普通对象创建
1、xml配置
在resources目录下新建bean.xml文件
1
2
3
4
5
6
7
8
9
10
11
12
13
14
15
16
17
18
19
20
21
22
23
24
25
| <?xml version="1.0" encoding="UTF-8"?>
<beans xmlns="http://www.springframework.org/schema/beans"
xmlns:xsi="http://www.w3.org/2001/XMLSchema-instance"
xsi:schemaLocation="http://www.springframework.org/schema/beans http://www.springframework.org/schema/beans/spring-beans.xsd">
<bean id="user" class="com.wangyz.ioc.pojo.User">
<property name="name" value="hello"/>
</bean>
<bean id="user" class="com.wangyz.ioc.pojo.User">
<constructor-arg index="0" value="hi"/>
</bean>
<bean id="user" class="com.wangyz.ioc.pojo.User">
<constructor-arg type="java.lang.String" value="hey"/>
</bean>
<bean id="user" class="com.wangyz.ioc.pojo.User">
<constructor-arg name="name" value="haha"/>
</bean>
</beans>
|
2、调用
1
2
3
4
5
6
7
8
9
10
11
| public class MyTest {
public static void main(String[] args) {
ApplicationContext context = new ClassPathXmlApplicationContext("bean.xml");
User user = (User) context.getBean("user");
System.out.println(user.toString());
}
}
|
Dao调用
1、xml配置
在resources目录下新建bean.xml文件
1
2
3
4
5
6
7
8
9
10
11
12
13
14
| <?xml version="1.0" encoding="UTF-8"?>
<beans xmlns="http://www.springframework.org/schema/beans"
xmlns:xsi="http://www.w3.org/2001/XMLSchema-instance"
xsi:schemaLocation="http://www.springframework.org/schema/beans http://www.springframework.org/schema/beans/spring-beans.xsd">
<bean id="mysqlDao" class="com.wangyz.ioc.dao.MySqlDaoImpl"/>
<bean id="oracleDao" class="com.wangyz.ioc.dao.OracleDaoImpl"/>
<bean id="service" class="com.wangyz.ioc.service.ServiceImpl">
<property name="dao" ref="oracleDao"/>
</bean>
</beans>
|
2、调用
1
2
3
4
5
6
7
8
9
10
11
| public class MyTest {
public static void main(String[] args) {
ApplicationContext context = new ClassPathXmlApplicationContext("bean.xml");
IService service = (IService) context.getBean("service");
service.getUser();
}
}
|
别名
1
2
3
4
5
6
7
|
<alias name="user" alias="userNew"/>
<bean id="user" class="com.wangyz.ioc.pojo.User" name="u1,u2">
<property name="name" value="hello"/>
</bean>
|
import
1
| <import resource="bean.xml"/>
|
可通过import导入其它xml
依赖注入
1、pojo定义
1
2
3
4
5
6
7
8
9
10
11
12
13
14
15
16
17
18
19
20
21
22
23
24
25
26
27
28
29
30
31
32
33
34
35
36
37
38
39
40
41
42
43
44
45
46
47
48
49
50
51
52
53
54
55
56
57
58
59
60
61
62
63
64
65
| public class Address {
private String province;
private String city;
private String district;
private String street;
public void setProvince(String province) {
this.province = province;
}
public void setCity(String city) {
this.city = city;
}
public void setDistrict(String district) {
this.district = district;
}
public void setStreet(String street) {
this.street = street;
}
@Override
public String toString() {
return "Address{" +
"province='" + province + '\'' +
", city='" + city + '\'' +
", district='" + district + '\'' +
", street='" + street + '\'' +
'}';
}
}
public class Student {
private String name;
private int age;
private String[] hobbies;
private Address address;
public void setName(String name) {
this.name = name;
}
public void setAge(int age) {
this.age = age;
}
public void setHobbies(String[] hobbies) {
this.hobbies = hobbies;
}
public void setAddress(Address address) {
this.address = address;
}
@Override
public String toString() {
return "Student{" +
"name='" + name + '\'' +
", age=" + age +
", hobbies=" + Arrays.toString(hobbies) +
", address=" + address +
'}';
}
}
|
2、xml
1
2
3
4
5
6
7
8
9
10
11
12
13
14
15
16
17
18
19
20
21
22
23
24
25
26
| <?xml version="1.0" encoding="UTF-8"?>
<beans xmlns="http://www.springframework.org/schema/beans"
xmlns:xsi="http://www.w3.org/2001/XMLSchema-instance"
xsi:schemaLocation="http://www.springframework.org/schema/beans http://www.springframework.org/schema/beans/spring-beans.xsd">
<bean name="address" class="com.wangyz.di.pojo.Address">
<property name="province" value="广东省"/>
<property name="city" value="深圳市"/>
<property name="district" value="南山区"/>
<property name="street" value="xx街道"/>
</bean>
<bean name="student" class="com.wangyz.di.pojo.Student">
<property name="address" ref="address"/>
<property name="name" value="张三"/>
<property name="age" value="10"/>
<property name="hobbies">
<array>
<value>唱</value>
<value>跳</value>
<value>Rap</value>
<value>打篮球</value>
</array>
</property>
</beans>
|
P命名空间
用于属性
1
2
3
4
5
6
7
8
9
10
11
12
13
14
15
16
17
18
19
20
| public class User {
private String name;
private int age;
public void setName(String name) {
this.name = name;
}
public void setAge(int age) {
this.age = age;
}
@Override
public String toString() {
return "User{" +
"name='" + name + '\'' +
", age=" + age +
'}';
}
}
|
增加p命名空间声明xmlns:p="http://www.springframework.org/schema/p"
1
2
3
4
5
6
7
8
| <beans xmlns="http://www.springframework.org/schema/beans"
xmlns:xsi="http://www.w3.org/2001/XMLSchema-instance"
xmlns:p="http://www.springframework.org/schema/p"
xsi:schemaLocation="http://www.springframework.org/schema/beans http://www.springframework.org/schema/beans/spring-beans.xsd">
<bean id="user" class="com.wangyz.di.pojo.User" p:name="张三" p:age="10"/>
</beans>
|
C命名空间
用于构造函数
1
2
3
4
5
6
7
8
9
10
11
12
13
14
15
16
17
18
19
20
21
22
23
24
25
26
| public class User {
private String name;
private int age;
public void setName(String name) {
this.name = name;
}
public void setAge(int age) {
this.age = age;
}
public User(String name, int age) {
this.name = name;
this.age = age;
}
@Override
public String toString() {
return "User{" +
"name='" + name + '\'' +
", age=" + age +
'}';
}
}
|
增加c命名空间声明
1
2
3
4
5
6
7
8
| <beans xmlns="http://www.springframework.org/schema/beans"
xmlns:xsi="http://www.w3.org/2001/XMLSchema-instance"
xmlns:c="http://www.springframework.org/schema/c"
xsi:schemaLocation="http://www.springframework.org/schema/beans http://www.springframework.org/schema/beans/spring-beans.xsd">
<bean id="user" class="com.wangyz.di.pojo.User" c:name="李四" c:age="20"/>
</beans>
|
Autowired
1、Bean定义
1
2
3
4
5
6
7
8
9
10
11
12
13
14
15
16
17
18
19
20
21
22
23
24
25
26
27
28
29
30
31
32
33
34
35
36
37
38
39
40
41
| public class Cat {
public void run(){
System.out.println("Cat run");
}
}
public class Dog {
public void run(){
System.out.println("Dog run");
}
}
public class Person {
private Dog dog;
private Cat cat;
private String name;
public Dog getDog() {
return dog;
}
public void setDog(Dog dog) {
this.dog = dog;
}
public Cat getCat() {
return cat;
}
public void setCat(Cat cat) {
this.cat = cat;
}
public String getName() {
return name;
}
public void setName(String name) {
this.name = name;
}
}
|
2、xml
1
2
3
4
5
6
7
8
9
10
11
12
13
14
15
16
| <?xml version="1.0" encoding="UTF-8"?>
<beans xmlns="http://www.springframework.org/schema/beans"
xmlns:xsi="http://www.w3.org/2001/XMLSchema-instance"
xsi:schemaLocation="http://www.springframework.org/schema/beans http://www.springframework.org/schema/beans/spring-beans.xsd">
<bean name="dog" class="com.wangyz.autowired.pojo.Dog"/>
<bean name="cat" class="com.wangyz.autowired.pojo.Cat"/>
<bean name="person" class="com.wangyz.autowired.pojo.Person">
<property name="name" value="张三"/>
<property name="dog" ref="dog"/>
<property name="cat" ref="cat"/>
</bean>
</beans>
|
3、测试
1
2
3
4
5
6
7
8
| public class MyTest {
public static void main(String[] args) {
ApplicationContext context = new ClassPathXmlApplicationContext("beans.xml");
Person person = context.getBean("person", Person.class);
person.getDog().run();
person.getCat().run();
}
}
|
注解实现Autowired
在属性上直接加上@Autowired注解
1
2
3
4
5
6
7
8
9
10
11
12
13
14
15
16
17
18
19
20
21
22
23
24
25
26
27
28
29
30
31
32
| public class Person {
@Autowired
private Dog dog;
@Autowired
private Cat cat;
private String name;
public Dog getDog() {
return dog;
}
public void setDog(Dog dog) {
this.dog = dog;
}
public Cat getCat() {
return cat;
}
public void setCat(Cat cat) {
this.cat = cat;
}
public String getName() {
return name;
}
public void setName(String name) {
this.name = name;
}
}
|
1
2
3
4
5
6
7
8
9
10
11
12
13
14
15
16
| <?xml version="1.0" encoding="UTF-8"?>
<beans xmlns="http://www.springframework.org/schema/beans"
xmlns:xsi="http://www.w3.org/2001/XMLSchema-instance"
xmlns:context="http://www.springframework.org/schema/context"
xsi:schemaLocation="http://www.springframework.org/schema/beans http://www.springframework.org/schema/beans/spring-beans.xsd http://www.springframework.org/schema/context http://www.springframework.org/schema/context/spring-context.xsd">
<context:annotation-config/>
<bean name="dog" class="com.wangyz.autowired.pojo.Dog"/>
<bean name="cat" class="com.wangyz.autowired.pojo.Cat"/>
<bean name="person" class="com.wangyz.autowired.pojo.Person"/>
</beans>
|
@Autowired通过byType类型查找,如果存在多个相同类型的属性,需要@Qualifer注解来指定。@Resource先通过byName查找,再通过byType查找。
Spring 注解
配置xml
1
2
3
4
5
6
7
8
9
10
11
12
| <?xml version="1.0" encoding="UTF-8"?>
<beans xmlns="http://www.springframework.org/schema/beans"
xmlns:xsi="http://www.w3.org/2001/XMLSchema-instance"
xmlns:context="http://www.springframework.org/schema/context"
xsi:schemaLocation="http://www.springframework.org/schema/beans http://www.springframework.org/schema/beans/spring-beans.xsd http://www.springframework.org/schema/context http://www.springframework.org/schema/context/spring-context.xsd">
<context:component-scan base-package="com.wangyz.anno.pojo"/>
<context:annotation-config/>
</beans>
|
1
2
3
4
5
6
7
8
9
10
11
12
| @Component
public class User {
@Value("李四")
private String name;
@Override
public String toString() {
return "User{" +
"name='" + name + '\'' +
'}';
}
}
|
Config方式的注解
1
2
3
4
5
6
7
8
9
10
11
12
13
14
15
16
17
18
19
20
21
22
23
24
25
26
27
28
| public class User {
private String name;
@Override
public String toString() {
return "User{" +
"name='" + name + '\'' +
'}';
}
}
@Configuration
public class Config {
@Bean
public User getUser() {
return new User();
}
}
public class MyTest {
public static void main(String[] args) {
ApplicationContext context = new AnnotationConfigApplicationContext();
User user = (User) context.getBean("user");
System.out.println(user.toString());
}
}
|
静态代理
1
2
3
4
5
6
7
8
9
10
11
12
13
14
15
16
17
18
19
20
21
22
23
24
25
26
27
28
29
30
31
32
33
34
35
36
37
38
39
40
41
42
43
44
45
46
47
48
49
50
51
52
| public interface IRent {
void rent();
}
public class Host implements IRent{
@Override
public void rent() {
System.out.println("出租房子");
}
}
public class Client implements IRent{
@Override
public void rent() {
System.out.println("租房");
}
}
public class Proxy implements IRent {
private Host host;
public void setHost(Host host) {
this.host = host;
}
@Override
public void rent() {
beforeRent();
host.rent();
afterRent();
}
private void beforeRent() {
System.out.println("beforeRent");
}
private void afterRent() {
System.out.println("afterRent");
}
}
public class MyTest {
public static void main(String[] args) {
Host host = new Host();
Proxy proxy = new Proxy();
proxy.setHost(host);
Client client = new Client();
client.rent();
proxy.rent();
}
}
|
动态代理
1
2
3
4
5
6
7
8
9
10
11
12
13
14
15
16
17
18
19
20
21
22
23
24
25
26
27
28
29
30
31
32
33
34
35
36
37
38
| import java.lang.reflect.InvocationHandler;
import java.lang.reflect.Method;
import java.lang.reflect.Proxy;
public class DynamicProxy implements InvocationHandler {
private Object target;
public void setTarget(Object target) {
this.target = target;
}
public Object getProxy() {
return Proxy.newProxyInstance(this.getClass().getClassLoader(), target.getClass().getInterfaces(), this);
}
@Override
public Object invoke(Object proxy, Method method, Object[] args) throws Throwable {
beforeRent();
Object result = method.invoke(target, args);
afterRent();
return result;
}
private void beforeRent() {
System.out.println("beforeRent");
}
private void afterRent() {
System.out.println("afterRent");
}
}
DynamicProxy proxy = new DynamicProxy();
Host host = new Host();
proxy.setTarget(host);
IRent rent = (IRent) proxy.getProxy();
rent.rent();
|
AOP
配置依赖
1
2
3
4
5
6
|
<dependency>
<groupId>org.aspectj</groupId>
<artifactId>aspectjweaver</artifactId>
<version>1.9.19</version>
</dependency>
|
Spring接口
1
2
3
4
5
6
7
8
9
10
11
12
13
14
15
16
17
18
19
20
21
22
23
24
25
26
27
28
29
| import org.springframework.aop.MethodBeforeAdvice;
import java.lang.reflect.Method;
public class BeforeLog implements MethodBeforeAdvice {
@Override
public void before(Method method, Object[] args, Object target) throws Throwable {
System.out.println(target.getClass().getName() + ":" + method.getName() + "执行前");
}
}
import org.springframework.aop.AfterReturningAdvice;
import java.lang.reflect.Method;
public class AfterLog implements AfterReturningAdvice {
@Override
public void afterReturning(Object returnValue, Method method, Object[] args, Object target) throws Throwable {
System.out.println(target.getClass().getName() + ":" + method.getName() + "执行后,返回结果:" + returnValue);
}
}
public class MyTest {
public static void main(String[] args) {
ApplicationContext context = new ClassPathXmlApplicationContext("applicationContext.xml");
IUserService service = context.getBean("userService", IUserService.class);
service.add();
}
}
|
1
2
3
4
5
6
7
8
9
10
11
12
13
14
15
16
17
18
| <?xml version="1.0" encoding="UTF-8"?>
<beans xmlns="http://www.springframework.org/schema/beans"
xmlns:xsi="http://www.w3.org/2001/XMLSchema-instance"
xmlns:aop="http://www.springframework.org/schema/aop"
xsi:schemaLocation="http://www.springframework.org/schema/beans
http://www.springframework.org/schema/beans/spring-beans.xsd
http://www.springframework.org/schema/aop
https://www.springframework.org/aop/spring-aop.xsd">
<bean id="userService" class="com.wangyz.aop.service.UserServiceImpl"/>
<bean id="beforeLog" class="com.wangyz.aop.log.BeforeLog"/>
<bean id="afterLog" class="com.wangyz.aop.log.AfterLog"/>
<aop:config>
<aop:pointcut id="pointCut" expression="execution(* com.wangyz.aop.service.UserServiceImpl.* (..))"/>
<aop:advisor advice-ref="beforeLog" pointcut-ref="pointCut"/>
<aop:advisor advice-ref="afterLog" pointcut-ref="pointCut"/>
</aop:config>
</beans>
|
自定义切入点
1
2
3
4
5
6
7
8
9
10
| public class CustomPointCut {
public void before() {
System.out.println("before");
}
public void after() {
System.out.println("after");
}
}
|
1
2
3
4
5
6
7
8
9
10
11
12
13
14
15
16
17
18
19
20
21
22
23
24
25
| <?xml version="1.0" encoding="UTF-8"?>
<beans xmlns="http://www.springframework.org/schema/beans"
xmlns:xsi="http://www.w3.org/2001/XMLSchema-instance"
xmlns:aop="http://www.springframework.org/schema/aop"
xsi:schemaLocation="http://www.springframework.org/schema/beans
http://www.springframework.org/schema/beans/spring-beans.xsd
http://www.springframework.org/schema/aop
https://www.springframework.org/aop/spring-aop.xsd">
<bean id="userService" class="com.wangyz.aop.service.UserServiceImpl"/>
<bean id="beforeLog" class="com.wangyz.aop.log.BeforeLog"/>
<bean id="afterLog" class="com.wangyz.aop.log.AfterLog"/>
<bean id="pointCut" class="com.wangyz.aop.custom.CustomPointCut"/>
<aop:config>
<aop:aspect ref="pointCut">
<aop:pointcut id="point" expression="execution(* com.wangyz.aop.service.UserServiceImpl.* (..))"/>
<aop:before method="before" pointcut-ref="point"/>
<aop:after method="after" pointcut-ref="point"/>
</aop:aspect>
</aop:config>
</beans>
|
注解
1
2
3
4
5
6
7
8
9
10
11
12
13
14
15
16
17
18
19
20
21
22
23
24
25
26
| import org.aspectj.lang.ProceedingJoinPoint;
import org.aspectj.lang.annotation.After;
import org.aspectj.lang.annotation.Around;
import org.aspectj.lang.annotation.Aspect;
import org.aspectj.lang.annotation.Before;
@Aspect
public class AnnotationPointCut {
@Before("execution(* com.wangyz.aop.service.UserServiceImpl.* (..))")
public void before() {
System.out.println("before");
}
@After("execution(* com.wangyz.aop.service.UserServiceImpl.* (..))")
public void after() {
System.out.println("after");
}
@Around("execution(* com.wangyz.aop.service.UserServiceImpl.* (..))")
public void around(ProceedingJoinPoint proceedingJoinPoint) throws Throwable{
System.out.println("环绕前");
Object proceed = proceedingJoinPoint.proceed();
System.out.println("环绕后");
}
}
|
1
2
3
4
5
6
7
8
9
10
11
12
13
14
15
16
17
| <?xml version="1.0" encoding="UTF-8"?>
<beans xmlns="http://www.springframework.org/schema/beans"
xmlns:xsi="http://www.w3.org/2001/XMLSchema-instance"
xmlns:aop="http://www.springframework.org/schema/aop"
xsi:schemaLocation="http://www.springframework.org/schema/beans
http://www.springframework.org/schema/beans/spring-beans.xsd
http://www.springframework.org/schema/aop
https://www.springframework.org/aop/spring-aop.xsd">
<bean id="userService" class="com.wangyz.aop.service.UserServiceImpl"/>
<bean id="beforeLog" class="com.wangyz.aop.log.BeforeLog"/>
<bean id="afterLog" class="com.wangyz.aop.log.AfterLog"/>
<bean id="annotationPointCut" class="com.wangyz.aop.anno.AnnotationPointCut"/>
<aop:aspectj-autoproxy/>
</beans>
|